
Construction process
All-concrete pool construction
The all-concrete pool construction process with the Swim-crete forming system, step by step.
General guidance only. These steps describe how the Swim-crete forming system is typically used. They are not a substitute for engineered plans, the Swim-crete pool prints for your project, or your local building codes.
-
 01
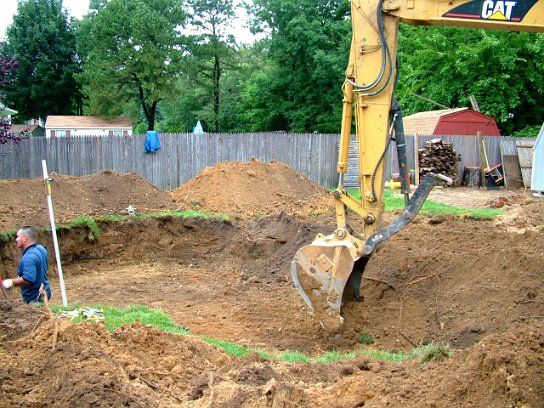
01Excavation
Excavate the pool area to the desired shape, making sure to leave a level lip for the setting of exterior forms.
-
 02
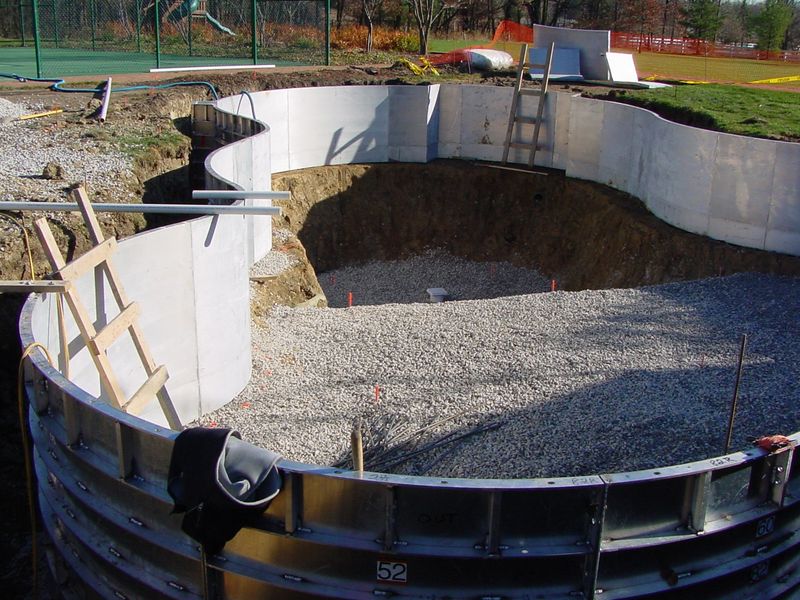
02Exterior forming
The setting of the all-concrete pool starts with the exterior concrete forms. All the exterior forms are set starting at the step (when applicable).
-
 03
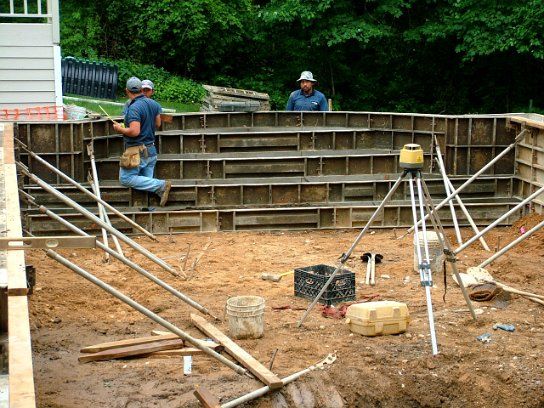
03Squaring & leveling
Each pool can be squared using the Swim-crete pool prints. The pool then should be leveled using a laser or transit. The highest point of the pool is established. Start at the opposite end of the pool, use shims to level toward the high point until the pool is level.
-
 04
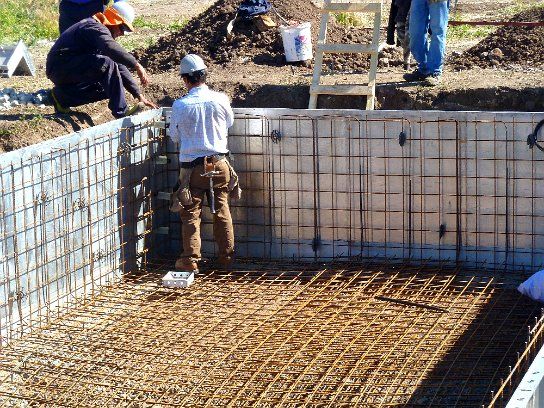
04Steel placement
After the exterior concrete forms are squared and leveled, steel should be placed in a grid following local codes.
-
 05
05Interior forming
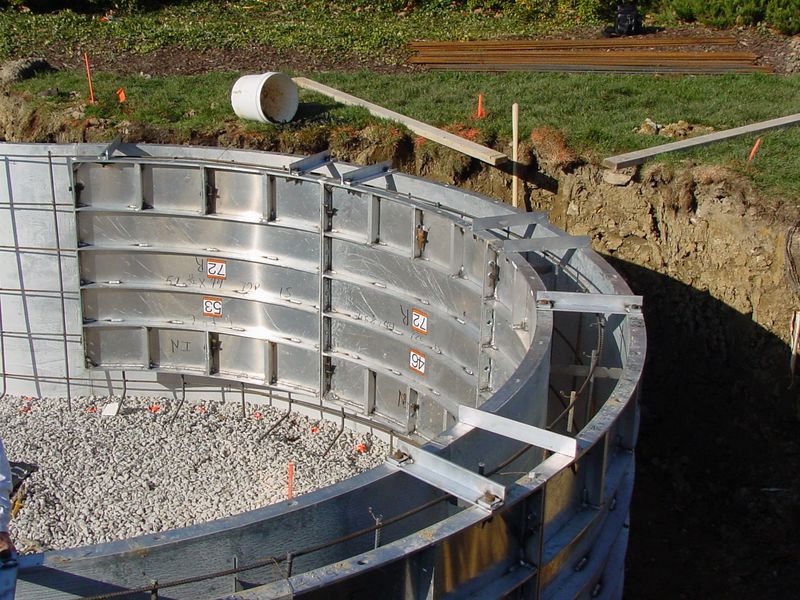
Once exterior forms, steel reinforcement, and plumbing are in place, the interior forms are set. Interior forms are suspended using the Swim-crete parapet bracket.
Note: Minimal or no interior bracing required to suspend interior concrete forms.
-
 06
06Concrete placement
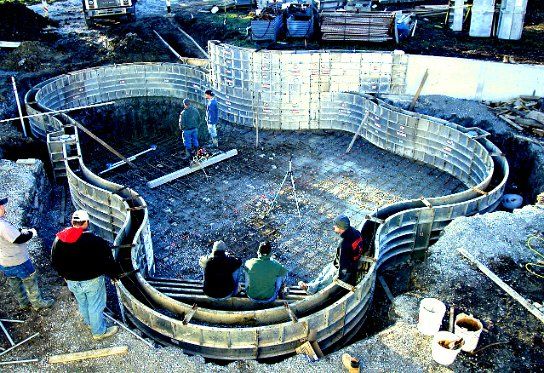
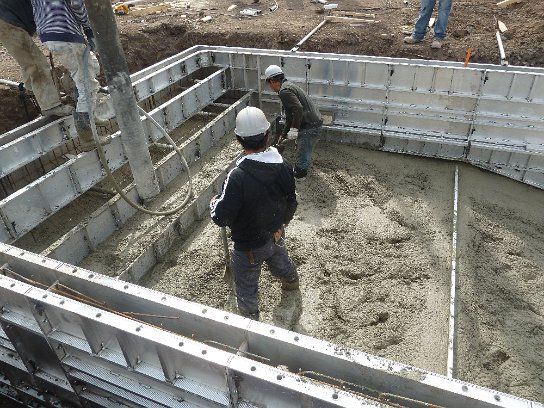
Once all forms, steel reinforcement, and plumbing are in place, the Swim-crete system is ready for concrete placement. 3″ (8 cm) slump recommended for all-concrete monolithic pool pours.
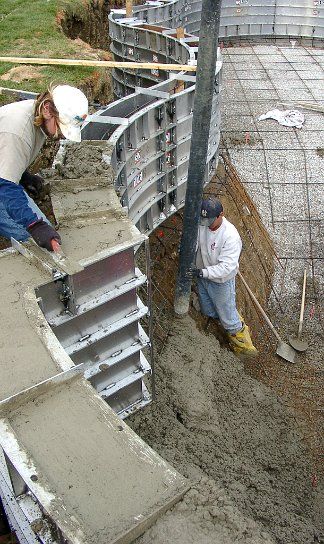
Concrete is placed into the concrete forms at a 3″ slump starting in the deep end walls. Once deep end walls are filled with concrete, the walls are vibrated; this allows concrete to flow under interior forms.
Next placement continues in the deep end of the pool, stacking concrete until both wall and floor come together.
-
 07
07Finishing concrete
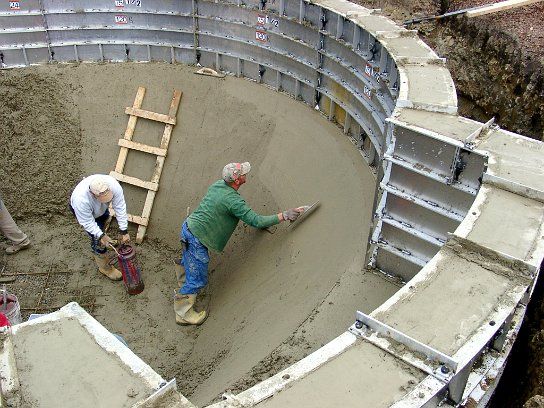
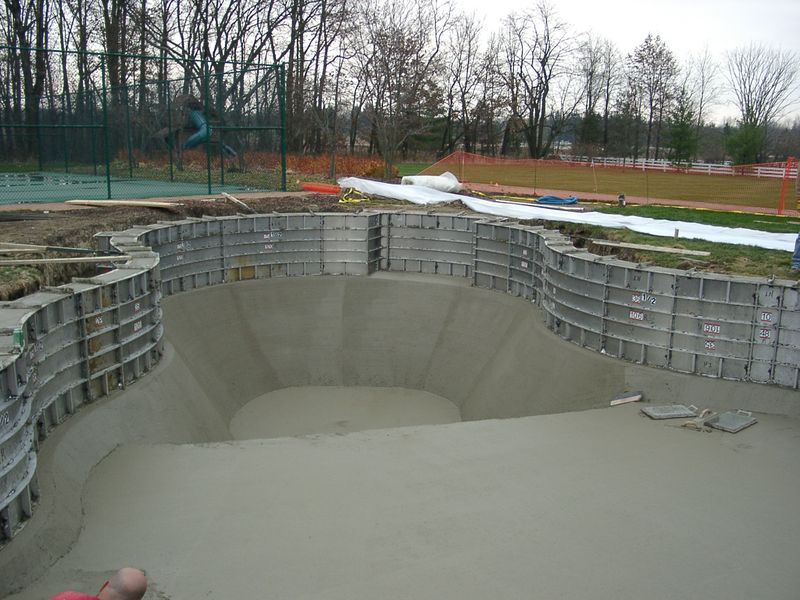
Finishing of concrete floors begins while the placement of walls continues.
Once concrete is cured to minimal strength, remove the forms, break the tie ends, leaving the pool ready to be plastered, tiled, epoxy painted or utilizing other finishing methods.
Sales & engineering
Talk to a regional manager
National, Eastern and international sales, plus the engineering department that draws the layouts. One form, or one call.